Home > Classroom Technology > Equipment Check Out > Flip Cams > Using the USB - Flip Cam Check Out
Using the USB - Flip Cam Check Out
Step-by-step instructions on how to use the USB feature of the Flip Cams available for rent from the ITS Help Desk and information on accessing your video files.
Quick Links to Sections in this Article:
Using the USB
Step 1:Record your video. 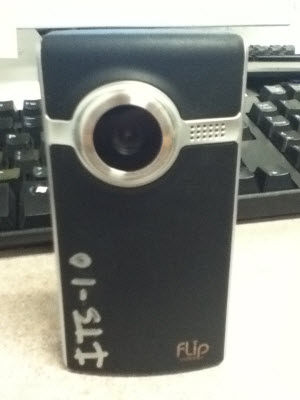
For more information recording video, visit the Using the Camera article.
Step 2:Slide down the triangle key on the side of the Flip Cam.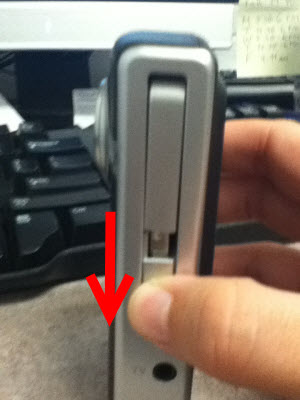
The USB part should pop up automatically once you slide down the key.
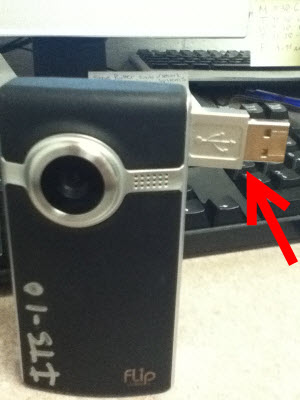
Step 3:Plug in the Flip Cam to an available port on your computer.
Accessing Your Files
Step 1:Follow the instructions above.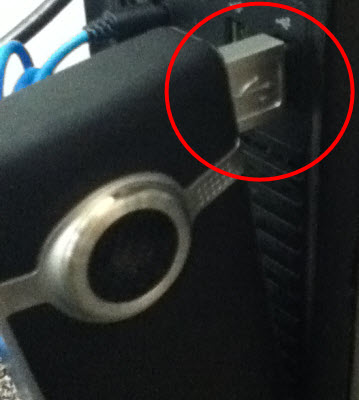
Step 2:An AutoPlay pop up will appear on your screen. Select Open folder to view files.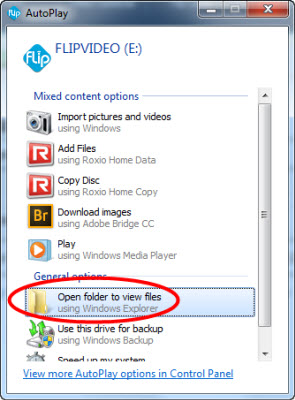
Step 3:Locate the files you wish to upload. Select the files and right-click. Choose Copy.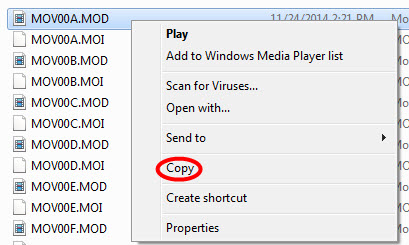
Step 4:Navigate to the location where you would like to upload the files.Step 5:Right-click in the location and select Paste.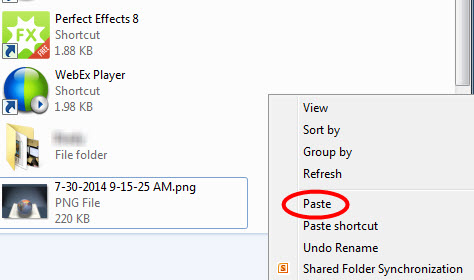
You have now uploaded your files.
| Author: mitchelld | Last Updated: 7/1/2015 10:35 AM | Page Views: 5403 |
https://helpdesk.etown.edu/helpconsole2012/kb/default.aspx?pageid=using_the_usb
|