Home > Classroom Technology > Equipment Check Out > Digital Cameras > Uploading - Digital Camera Check Out
Uploading - Digital Camera Check Out
In order to upload files from the Canon cameras, you must use the provided USB cord. If one was not included in your camera bag, please contact ITS at helpdesk@etown.edu or x3333.
Quick Links to Sections in this Article:
Connecting to a Computer
Step 1:Remove USB cord from the camera bag.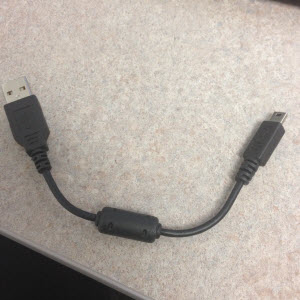
Step 2:Plug in the USB cord to a free port on your computer.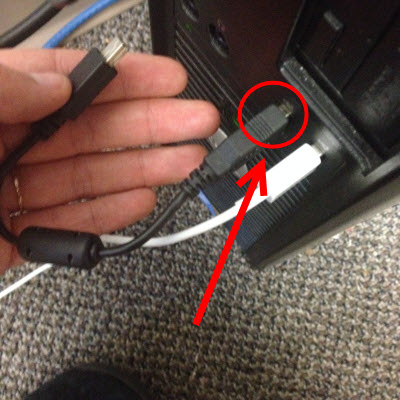
Step 3:Open the rubber flap on the side of the camera to reveal the micro USB port.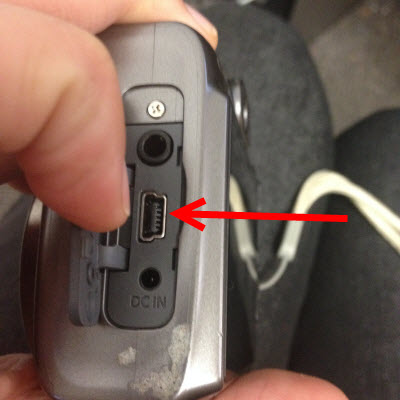
Step 4:Plus in the USB cord to the camera.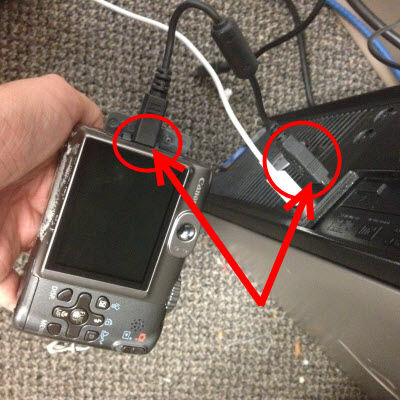
Step 5:Click the ON/OFF button to power on the camera. 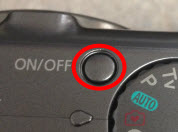
Uploading Files
Step 1:Follow the steps above to connect your camera to the computer.
Step 2:An AutoPlay pop up will appear with options. Double-click on Open device to view files.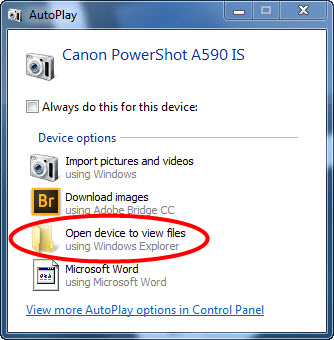
Step 3:Windows explorer will appear. Double-click on Removable storage.
Step 4:Open the DCIM folder.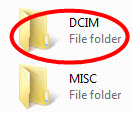
Step 5:Open the 105CANON folder.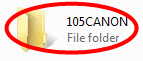
Note: You should be able to see your files after opening the folder.
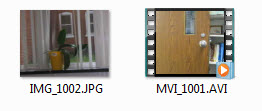
Step 6:Select the files you wish to upload and right-click. Choose Copy.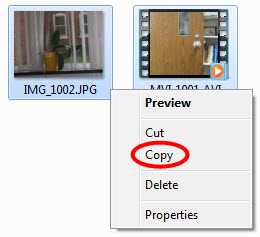
Step 7:Navigate to the location where you would like to upload the files.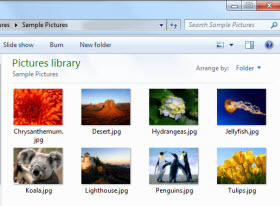
Step 8:Right-click and select Paste.
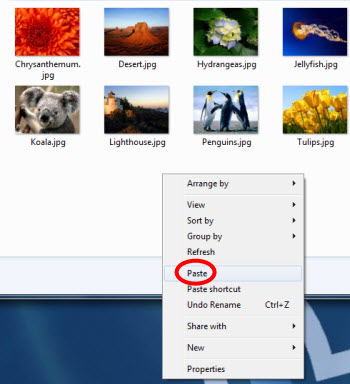
Your files will copy into that file.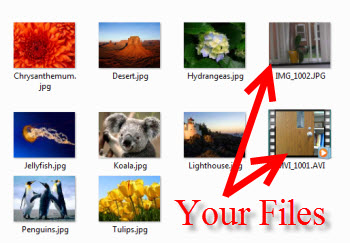
Step 9:Return to the 105CANON folder and select the files you have uploaded.
Step 10:Right-click and select Delete to remove the files from the camera.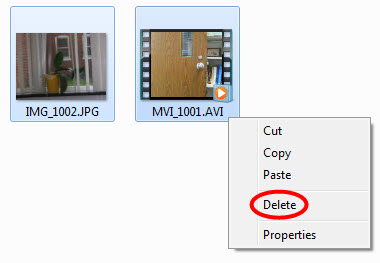
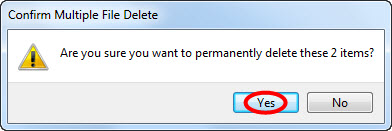
Note: You may see a pop up asking you to confirm the deletion of the files. Click Yes.
Troubleshooting
If you do not see an AutoPlay pop up and cannot access the Removable Storage folder, make sure that the slider on the right side of the camera is in the "down" position.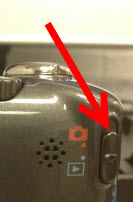
| Author: mitchelld | Last Updated: 7/1/2015 10:33 AM | Page Views: 4057 |
https://helpdesk.etown.edu/helpconsole2012/kb/default.aspx?pageid=uploading
|