Home > Software & Programs > Symantec > Remove Symantec
Remove Symantec
With the shift to FortiClient, Symantec is no longer required on your computer. The program can remain on your device indefinitely, but it will not function and ITS advises that you remove it to save space.
Quick links to sections in this article:
PC - Remove Symantec (Preferred Method)
Step 1:Click the Windows button and select Settings.
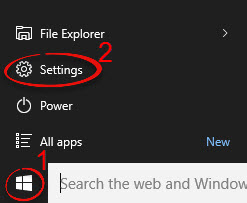
Step 2:
Click System.

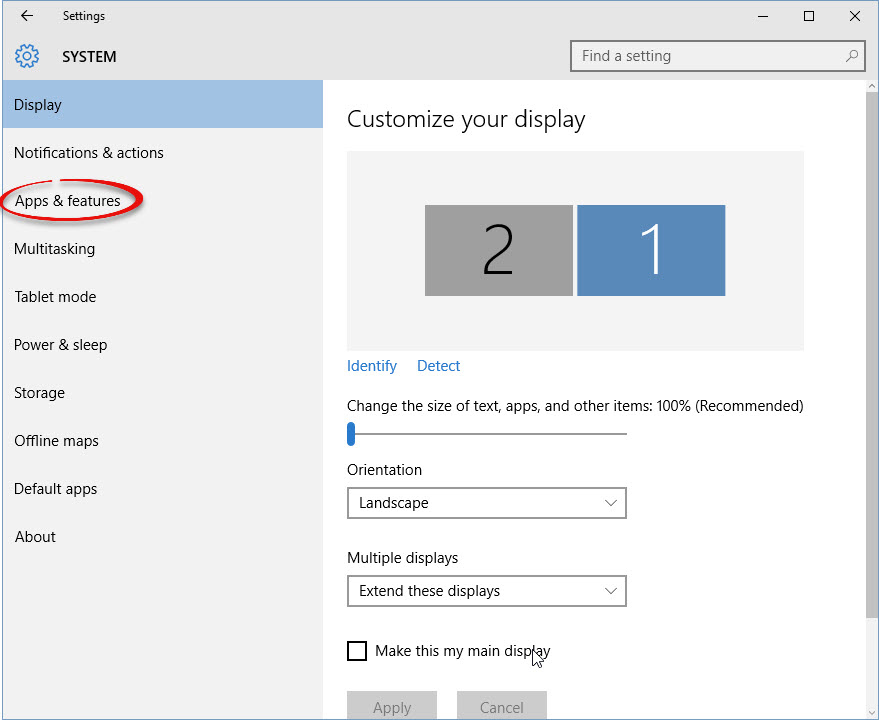
Step 3:
Click Apps & features.
Step 4:Type "symantec" into the search bar. Click Symantec Endpoint Protection.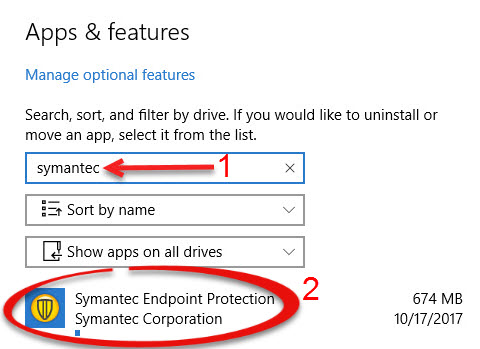
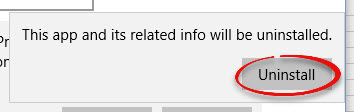
Step 5:
Click Uninstall.

Step 6:Click Uninstall.
Mac - Remove Symantec
Note: To use this tool, you must be logged in to the Macintosh with an Administrator account with a non-blank password.
If you have upgraded to High Sierra, Symantec will no longer work on your Mac. Follow these instructions to uninstall it, then reinstall using this link.
Step 1: Download RemoveSymantecMacFiles.zip.
https://support.symantec.com/content/dam/mac/tools/RemoveSymantecMacFiles.zip
Step 2: Click the arrow next to the RemoveSymantecMacFiles file that you downloaded so that the file expands. Right click RemoveSymantecMacFiles.command select Open With > Terminal.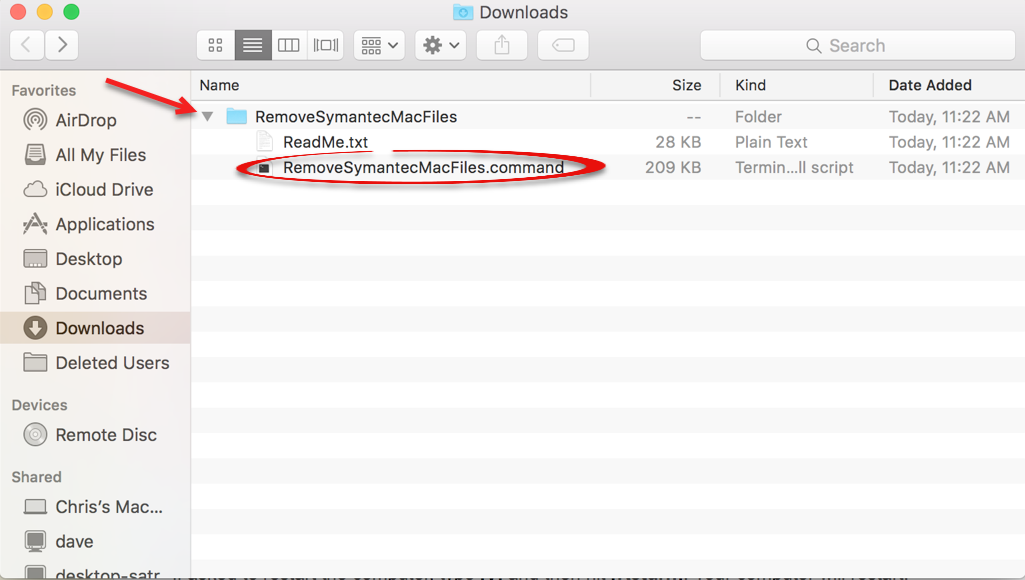
Step 3: Type your Mac OS X password, and then press [Return].
Note: When you type, no characters appear.
Step 4: Type [1], to remove all Symantec files and folders and then press [Return].
Step 7: If asked to restart the computer, type [y] and then hit [Return]. Your computer will restart.
Step 8: Close out of the terminal window if it still appears.
| Author: karperc | Last Updated: 8/30/2022 1:09 PM | Page Views: 7187 |
https://helpdesk.etown.edu/helpconsole2012/kb/default.aspx?pageid=remove_symantec
|