Home > Classroom Technology > Equipment Check Out > Flip Cams > Using the Camera - Flip Cam Check Out
Using the Camera - Flip Cam Check Out
Overview and instructions for using the Flip Cams available for rent from the ITS Help Desk. For more information, contact the Help Desk at x3333 or helpdesk@etown.edu.
Quick Links to Sections in this Article:
Overview
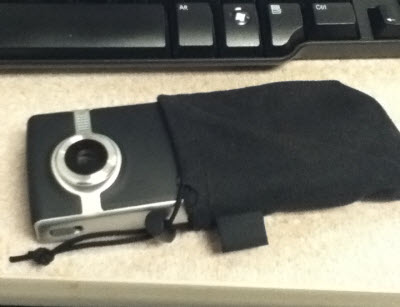
When you rent a Flip Cam from the Help Desk, you'll receive the following items:
- One(1) Flip Cam
- One(1) Soft Cloth Carrying Case
- Two(2) AA Batteries
Buttons and Keys
Power Button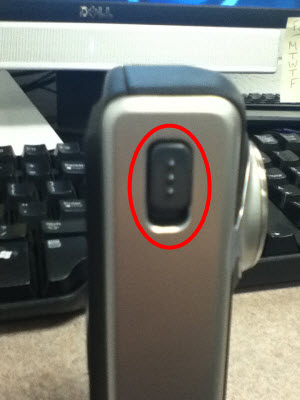
The power button is located on the side of the Flip Cam. Push and slide this button down in order to turn on the device.Keys 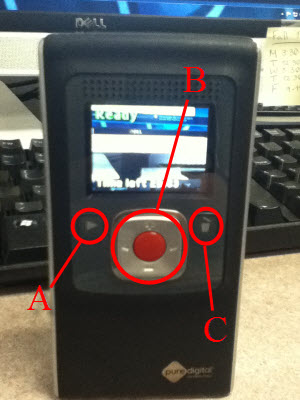
A. Playback Button
|
After recording, press this button to review your video.
|
B. Toggle Keypad/Record Button
|
Click the red button to record, use the keypad during playback.
|
C. Trash Button
|
During playback, click this button to delete your file.
|
USB Key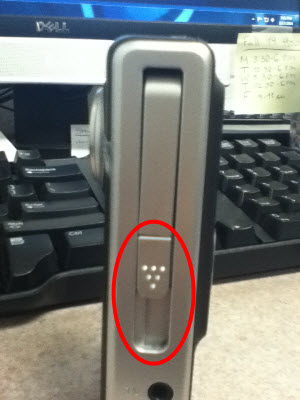
Slide this key down to access the USB functionality of the Flip Cam.
Recording a Video
Step 1:Remove the Flip Cam from its soft cloth carrying case.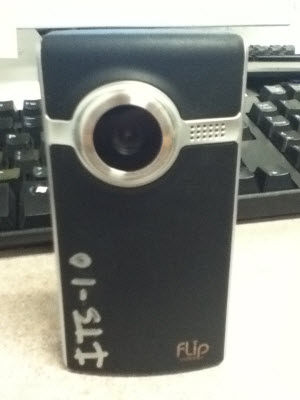
Step 2:Power on the device using the power button.
Step 3:Click the red button to begin recording.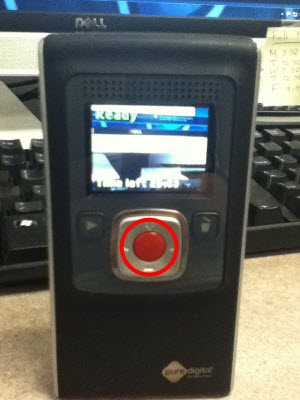
Step 4:Record your video.Step 5:Click the red button to finish recording.
Step 6:Review your video using the playback button and/or power off the Flip Cam.
You have now recorded a video.
| Author: mitchelld | Last Updated: 7/1/2015 10:35 AM | Page Views: 4533 |
https://helpdesk.etown.edu/helpconsole2012/kb/default.aspx?pageid=using_the_camera
|