Home > Classroom Technology > Equipment Check Out > Video Cameras > Recording and Uploading - Video Camera Check Out
Recording and Uploading - Video Camera Check Out
Instructions for recording video and uploading video files with Canon video cameras available for rent at the ITS Help Desk. To rent equipment, contact ITS at x3333 or helpdesk@etown.edu.
Quick Links to Sections in this Article:
Recording
Step 1:Set up the camera and arrange the setting as you would like to record it.Step 2:Press the Power button to turn on the Canon video camera.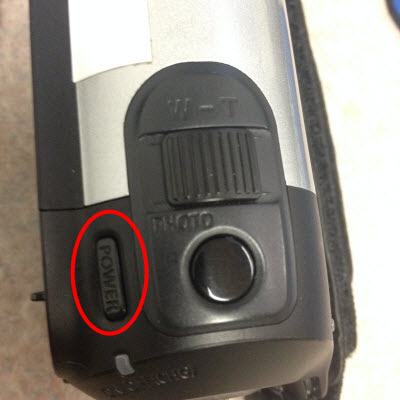
Step 3:Press the red and silver button located on the back of the camera to start recording.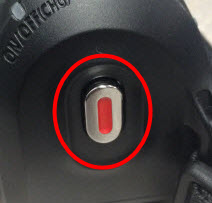
Step 4:Record your video.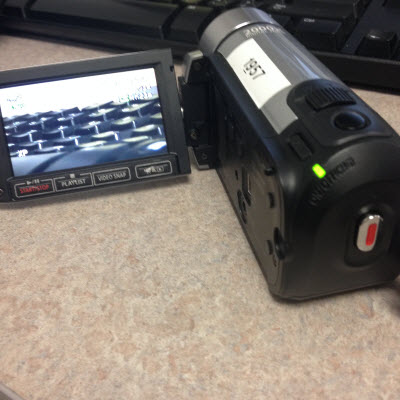
Step 5:Press the red and silver button located on the back of the camera to stop recording.
Step 6:Press the Power button to turn off the camera.
You have now recorded a video.The camera must be charged in order to operate. Simply plug in the charge cord to the wall and camera before use to charge the device. Visit the Rental Items article if you are unsure about which cord is the charge cord.
Uploading
There are two ways to access your files. The first is to use a USB cord
to connect the camera directly to the computer. The second is to use an
SD card reader. These instructions display the USB cord method.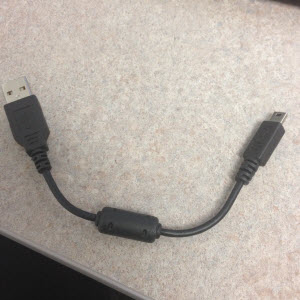
Step 1:Record your video using the steps above in the Recording section.Step 2:Plug in a USB cable to the video camera.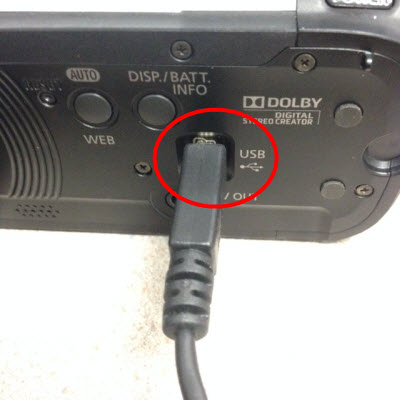
Step 3:Plug in the other end of the USB cable to an available port on your computer.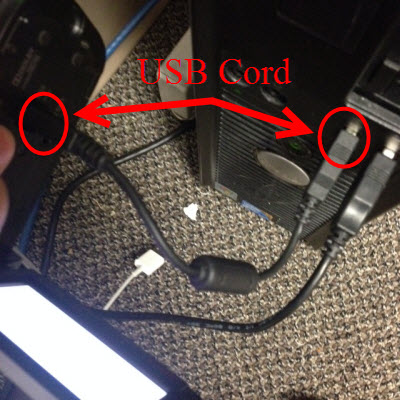
Step 4:Power on the video camera.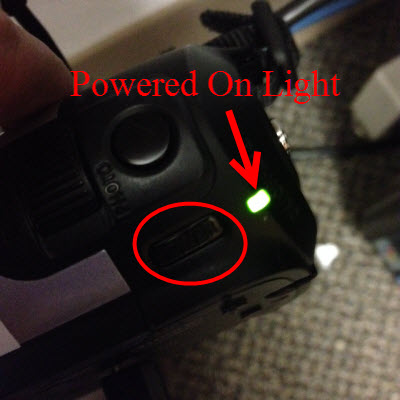
The indicator light will turn on (green) when the device has turned on.
Step 5:Switch camera to "Display Mode" by pressing the camera/play icon.
Step 6:
An AutoPlay pop up will appear on your computer. Click Open folder to view files.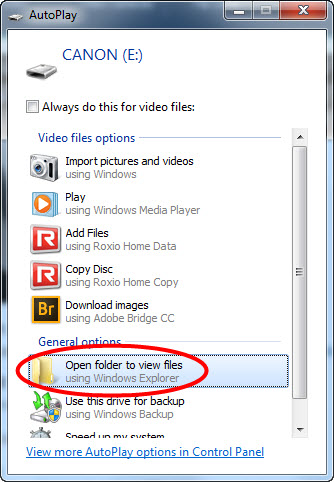
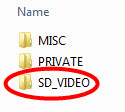
Step 7:Locate the files you wish to upload.
Video files will be located in the SD Video folder. If you have trouble locating your files, please contact the ITS Help Desk at x3333 or helpdesk@etown.edu.
Step 8:Select all the files you wish to upload, right-click, and select Copy.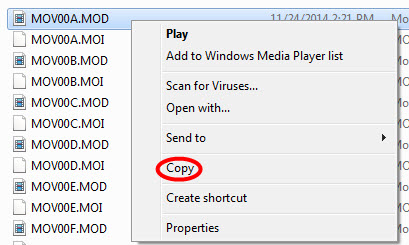
Step 9:Navigate to the location where you would like to upload the files.Step 10:Right-click and select Paste in the folder to transfer the files.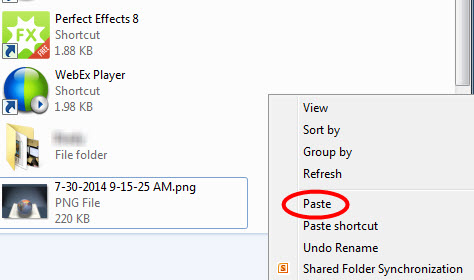
Step 11:Your files have now been uploaded. The default file type for these video files does not allow the audio to be imported into Camtasia. Use Audacity to capture the audio and import that separately into the Camtasia file.
Warning Notices
While the camera is plugged into the computer and powered on, a warning will appear on the video camera screen. The warning reads: "Do not disconnect the USB cable or the power source until you safely end the connection from the computer." 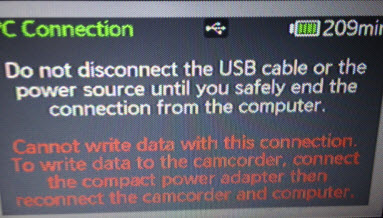
A second warning in red reads "Cannot write data with this connection. To write data to the camcorder, connect the compact power adapter then reconnect the camcorder and computer."
| Author: mitchelld | Last Updated: 9/16/2016 3:45 PM | Page Views: 3565 |
https://helpdesk.etown.edu/helpconsole2012/kb/default.aspx?pageid=recording_and_uploading
|