Home > Classroom Technology > Equipment Check Out > Digital Cameras > Recording - Digital Camera Check Out
Recording - Digital Camera Check Out
Instructions for how to record video or take photographs with the Canon cameras available for rent at the ITS Help Desk below.
Quick Links to Sections in this Article:
Recording Video
Step 1:Click the ON/OFF button to power on the camera.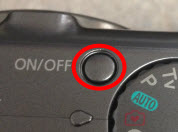
Step 2:Rotate the Setting Selection Wheel until the video camera is lined up with the selector.
Step 3:Ensure the slider on the right side of the camera is in the "up" position.
Step 4:Push the shutter button to begin recording your video. Press it again when you are ready to stop recording.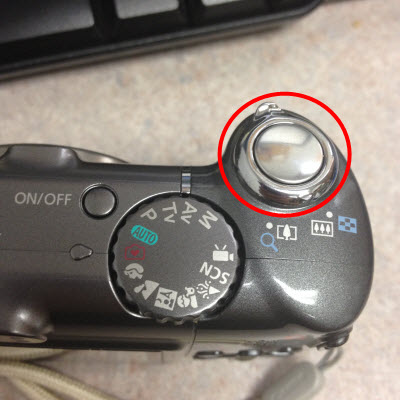
You have now recorded a video.
Taking Photographs
Step 1:Click the ON/OFF button to power on the camera.
Step 2:Rotate the Setting Selection Wheel until the selector points to the setting you wish to use.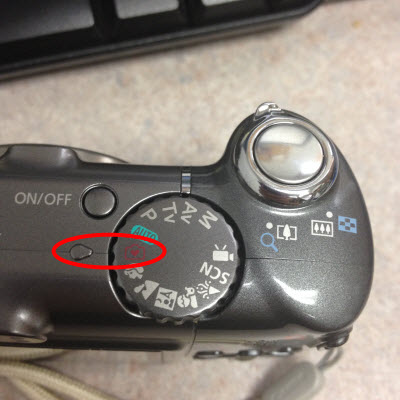
Step 3:Ensure the slider on the right side of the camera is in the "up" position.
Step 4:Press the shutter button to take a photograph. Repeat as many times as you like.
You have now taken a photograph.
| Author: mitchelld | Last Updated: 7/1/2015 10:33 AM | Page Views: 3987 |
https://helpdesk.etown.edu/helpconsole2012/KB/default.aspx?pageid=recording1
|