Home > Etown Systems > Printing > KYOCERA Copiers > Email a Scan
Email a Scan
Instructions for scanning and emailing a document from a Kyocera copier.
Quick Links to Sections in this Article:
Making the Scan
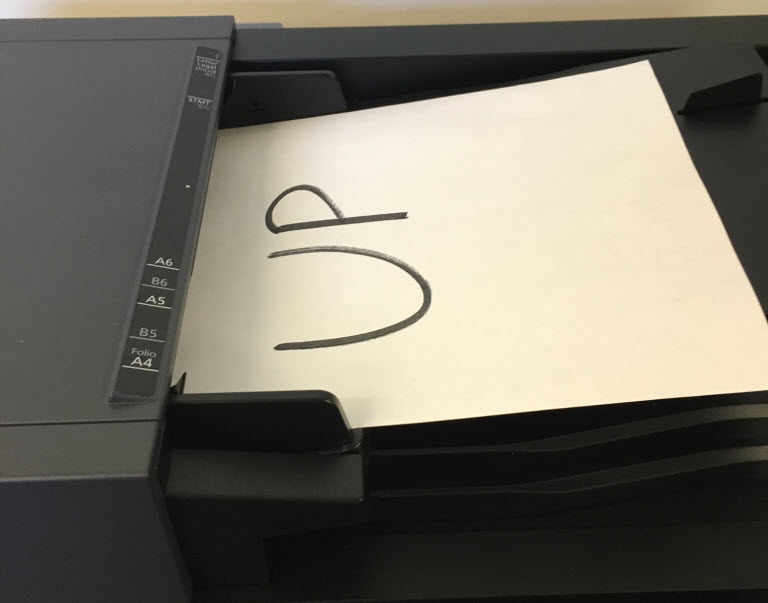
Step 1:Take your document to the copier and place it in the copier tray.
 Step 2:Log in to the copier. Step 2:Log in to the copier.
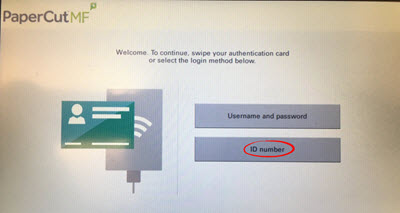 For more information on logging in, visit the Copier Login article. For more information on logging in, visit the Copier Login article.
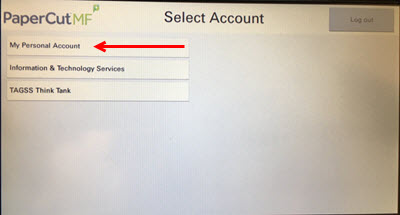
Step 3:Select the department or account to which the copier charge will be applied.
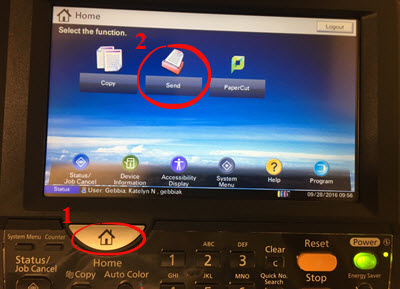
 Step 4:Press the SEND button on the keyboard. Step 4:Press the SEND button on the keyboard.
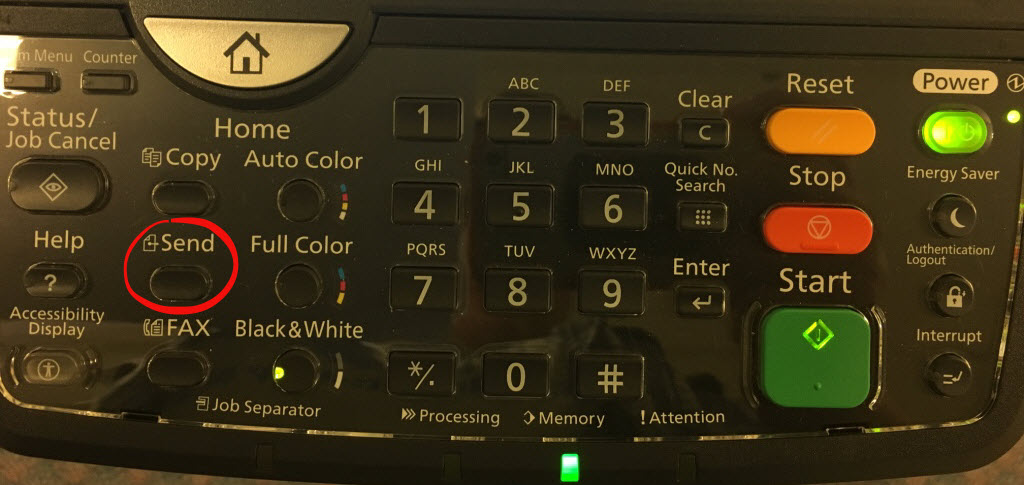 Step 5: Step 5:
Or press Home on the keyboard then Send on the touch screen.
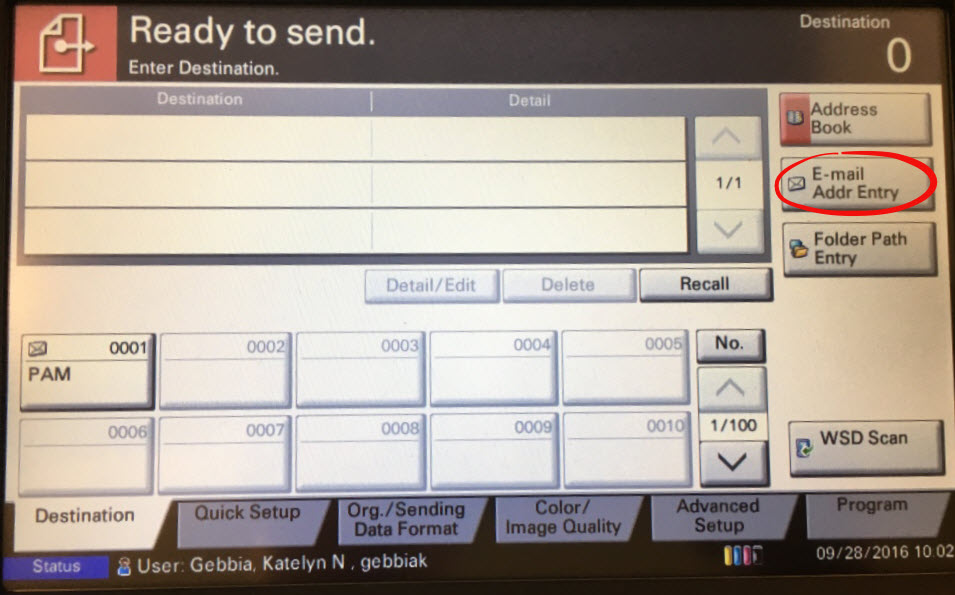
 Step 6:Press Email Addr Entry to type in the email address of the recipient of your scan. Step 6:Press Email Addr Entry to type in the email address of the recipient of your scan.
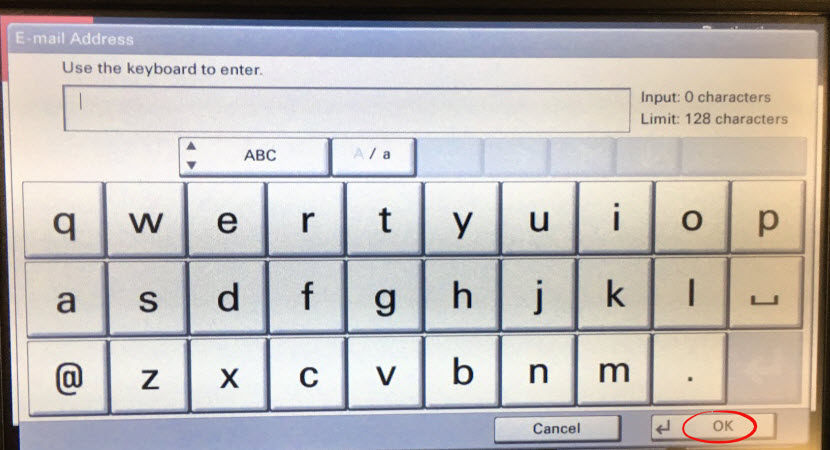
 Step 8:Type email address and press OK. Step 8:Type email address and press OK.
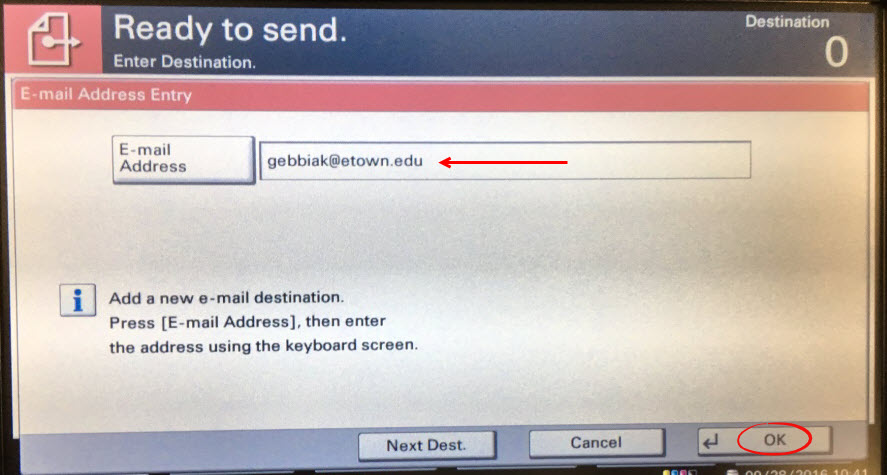
 Step 9:Confirm the email address and press OK. Step 9:Confirm the email address and press OK.
 Step 10:To add a message with the scan, tap Advanced Setup at the bottom of the screen, and select Step 10:To add a message with the scan, tap Advanced Setup at the bottom of the screen, and select
Email Subject/Body.
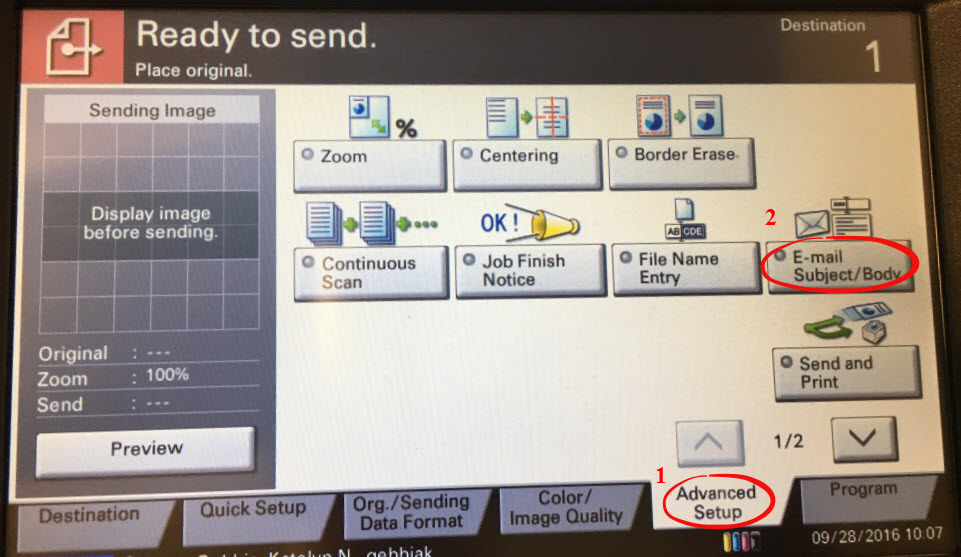 Step 11:Tap the word Subject or the word Body to enter a subject or message to the email. When you are finished, press OK. Step 11:Tap the word Subject or the word Body to enter a subject or message to the email. When you are finished, press OK.
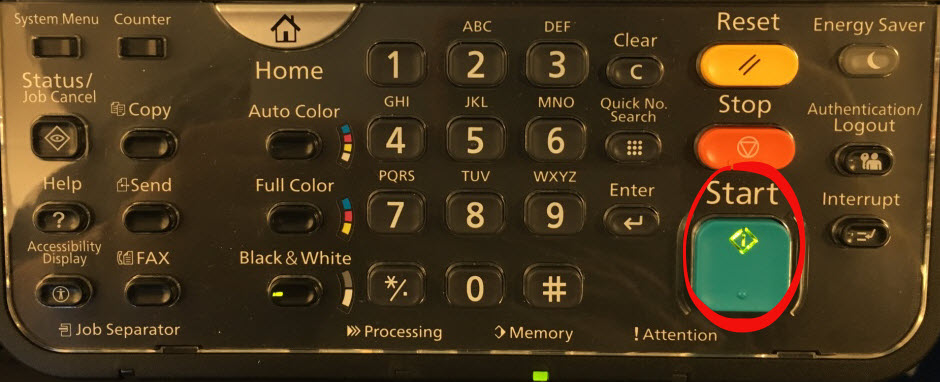
 Step 12:Press Start to send the email. Step 12:Press Start to send the email.
You will not receive a confirmation window if the email sends. You will receive an error message if it does NOT send.
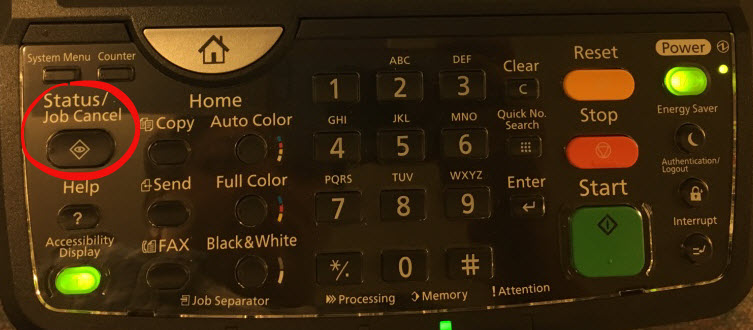
Step 13:To confirm if your email sent, press Status/Job Cancel on the keyboard.
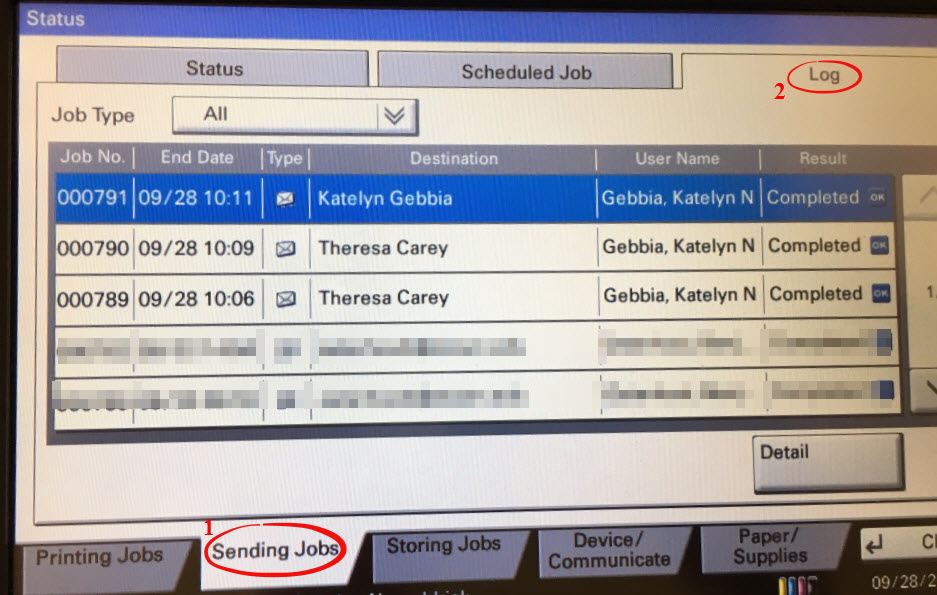
 Step 14:Tap the Sending Jobs tab at the bottom, then choose the Log tab at the top. Step 14:Tap the Sending Jobs tab at the bottom, then choose the Log tab at the top.
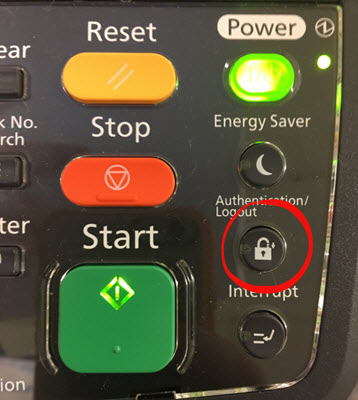
 Step 15:Log out of the copier by selecting the LOGOUT button. Step 15:Log out of the copier by selecting the LOGOUT button.
Receiving the Scan
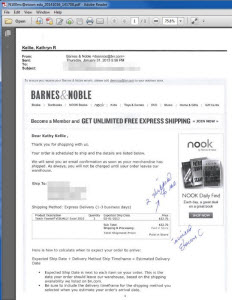
Step 1:A message with an attachment will appear in your inbox.
Step 2:Open the email.
Step 3:Open the attached PDF to view, save, or make a copy of the scanned document.
If you are faxing the document, you will attach it to a new message.
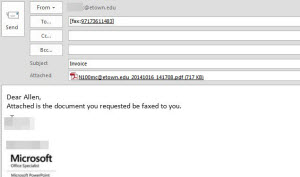
Emailing/Faxing the Scan
Step 1:Start a new email.Step 2:Fill in the "To," "Subject," and body of the message. If you are faxing the scan, follow the directions for entering the fax phone number.Step 3:Attach the file.Step 4:Click Send.
| Author: careyt | Last Updated: 5/27/2021 1:20 PM | Page Views: 2726 |
https://helpdesk.etown.edu/helpconsole2012/kb/default.aspx?pageid=email_a_scan1
|