Home > Etown Systems > Printing > Printing for College Computers > Set Default Printer
Set Default Printer
When you have more than one printer connected to your computer, you may want to set one as the default. This would be the printer that you use most frequently. Here's how to change default printers on a PC and Mac.
Quick Links to sections in this article:
PC
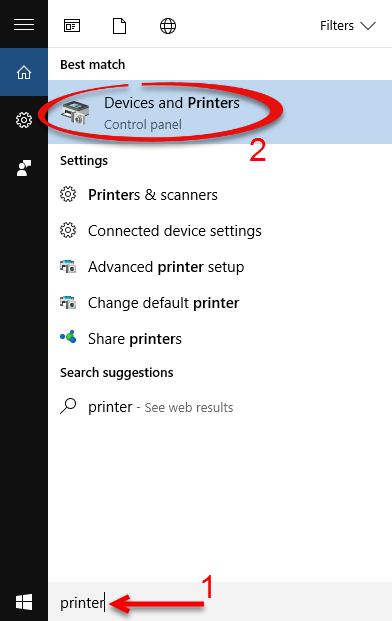
Step 1:
Click the Start menu and search "printer." Click Devices and Printers.
 Step 2:Under Printers and Faxes, right click on the printer you wish to set as the default. Select Set as default printer.
Step 3:
The green check on the printer icon indicates the default printer.
Mac
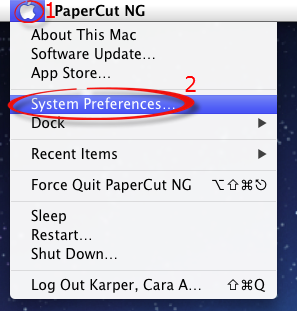
Step 1:
Click the Apple icon and choose System Preferences...
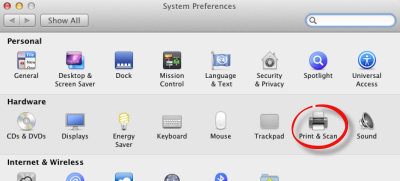
 Step 2:
Select Print & Scan from the Hardware section.
Step 2:
Select Print & Scan from the Hardware section.
 Step 3:
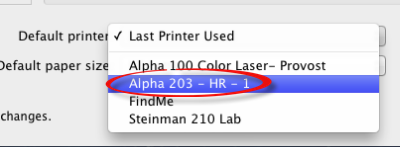
Click the dropdown list next to Default printer.
Step 3:
Click the dropdown list next to Default printer.
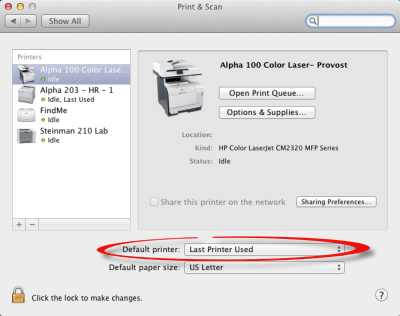 Step 4:
Select the printer you wish to be your default.
Step 4:
Select the printer you wish to be your default.
 Step 5:
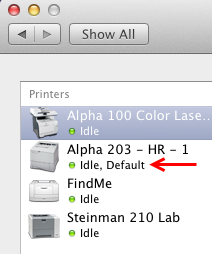
The default printer is indicated in the list of printers.
Step 5:
The default printer is indicated in the list of printers.
| Author: karperc | Last Updated: 7/5/2018 3:34 PM | Page Views: 3662 |
https://helpdesk.etown.edu/helpconsole2012/kb/default.aspx?pageid=set_default_printer_pc
|