Home > Web Based Apps > Doodle > Creating a Poll - Doodle
Creating a Poll - Doodle
In order to use Doodle, the event planner or manager must schedule an event with available times.
Step 1:On the doodle homepage, click Schedule an event.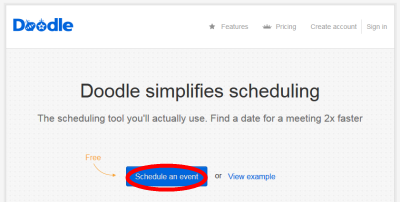
Step 2:Fill out the form fields with the title of the event, your name, and your email address.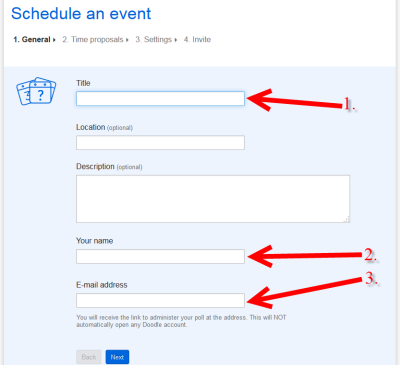
You can also fill in a location and description of the event but those fields are optional. There is a character limit in the description field indicated by a numbered box.

Step 3:Click Next.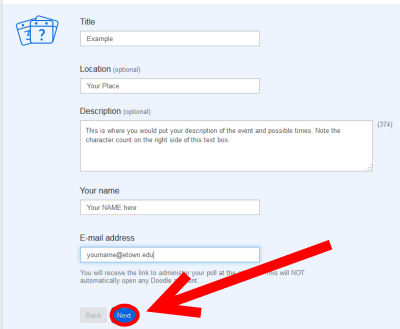
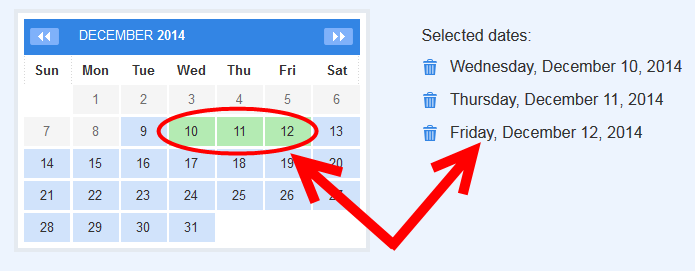
Step 4:Click on the calendar to select potential dates for the event.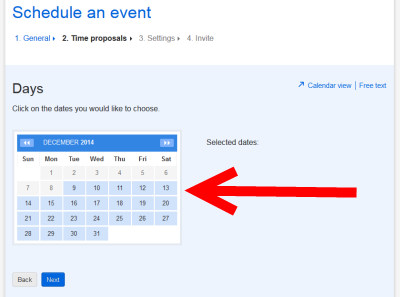
Selected dates will appear both highlighted on the calendar and under the title 'Selected dates:'.
Step 5:Delete any dates you did not intend to include as options by clicking on the trashcan icon next to the date.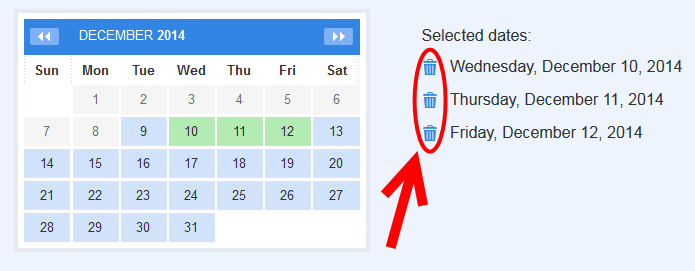
Step 6: Add potential times for the dates you selected and click Next.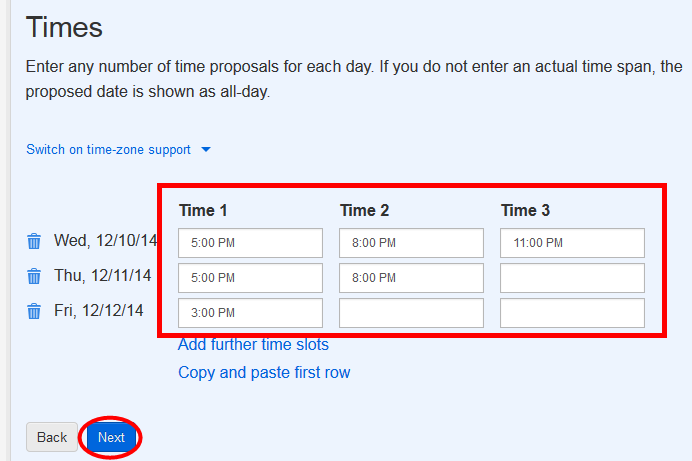
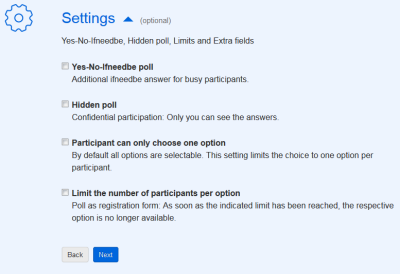
Step 7:Select Next under Basic Poll if you are satisfied or select the drop down for settings.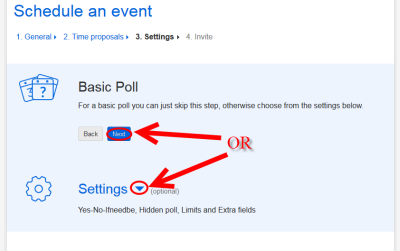
If you select the drop down for settings, you will be able to select additional options as displayed in the screenshot below. When you finish, click Next.
Step 8:Decide which option for sharing you would prefer and invite participants by adding their email addresses in the invite box. Then click Done.
You may also chose to use Outlook to send the participation link instead of adding emails within Doodle. You will see the participation link after clicking Done.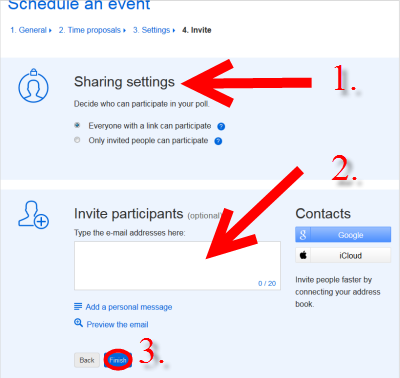
Step 9:You have created your Doodle. You will be able to select several links both from the confirmation screen and through email to manage your Doodle.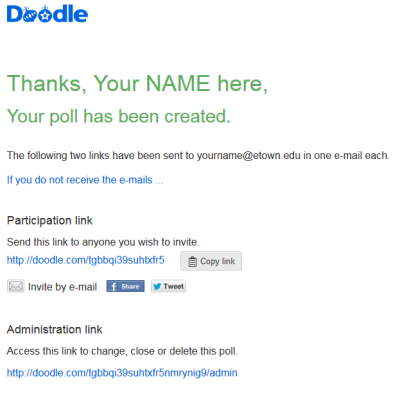
| Author: mitchelld | Last Updated: 7/2/2015 1:49 PM | Page Views: 4461 |
https://helpdesk.etown.edu/helpconsole2012/kb/default.aspx?pageid=creating_a_doodle
|