Home > Classroom Technology > Lightspeed Flexcat > Initial Set-up - Flexcat
Initial Set-up - Flexcat
Below is a list of step-by-step instructions that detail how to set up and begin using the Lightspeed™ Flexcat® audio system.
Step 1:Place one small group speaker pod at the center of each table in the room.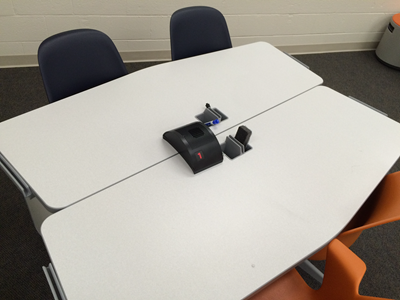
Step 2:Turn on each pod. The power switch is located on the bottom of the pod.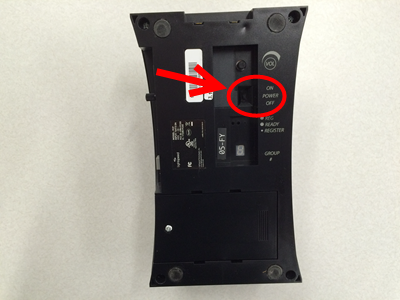
Step 3:Place the Redcat Speaker on a table on either the side or rear wall of the room, depending on your preference.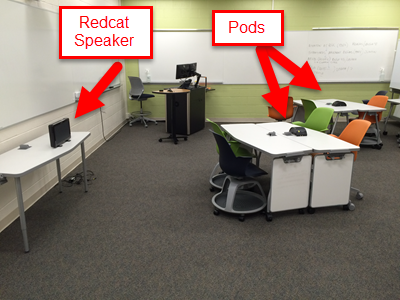
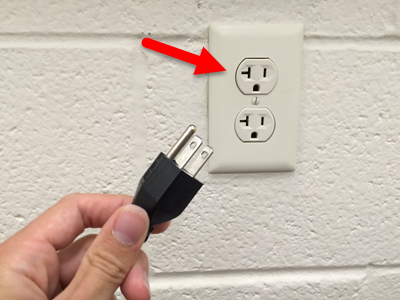
Step 4:Using one of the provided power supply cords, insert one end of the cord into the DC Input port on the Redcat Speaker, and the other end of the cord into a wall outlet. The speaker should turn on automatically upon plugging it in. If not, the power button for the Redcat Speaker is located above the DC Input port.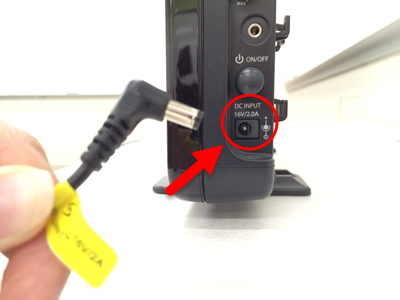
Step 5:Attach the lanyard with earpiece to the microphone.
Note: Make sure you plug the earpiece into the port labeled with the picture of the headphones, as indicated in the picture below. Do not plug the earpiece into the other side of the microphone, labeled "Input".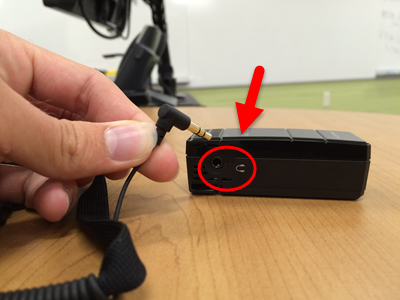
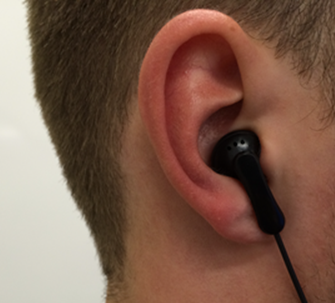
Step 6:Place the lanyard around your neck and place the earpiece in your ear.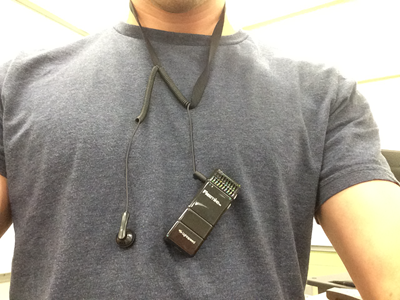
Step 7:Press and hold the indicated power button on the microphone to turn it on.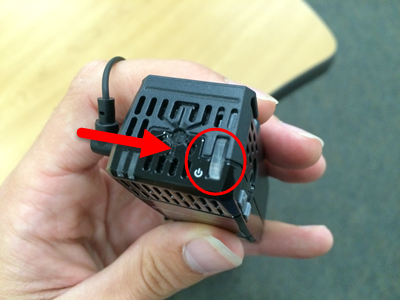
Warning: Do not stand too close to the Redcat Speaker when both the speaker and the microphone are turned on. This interference between the two devices will produce a high pitched screech. Try to maintain at least a seven foot distance between the microphone and the Redcat Speaker.
You are now all set up and ready to use the Flexcat audio system.
| Author: andersonjm | Last Updated: 9/21/2016 12:56 PM | Page Views: 3774 |
https://helpdesk.etown.edu/helpconsole2012/kb/default.aspx?pageid=initial_set_up
|